

How To Install A New Hanging Light Fixture
By Matt Weber
A hanging ceiling fixture is more than than simply a low-cal source. It'due south a focal indicate for the interior décor of the domicile.
We recently upgraded a ceiling fixture with a new chandelier from Lamps Plus, the nation'south largest lighting retailer. This lighting fixture was located above the staircase we recently remodeled and made a cute "crown precious stone" to decorate the space. The homeowner selected the Lacey 28″ Wide Round Black Chandelier to replace a smaller (and outdated) pendant. The result was a dramatic improvement to the look and feel of the home's front foyer.
Replacing an out-of-style ceiling fixture non merely updates the look of a room, just the mode in which it casts low-cal tin can too dramatically impact the ambient of the living space. Hanging fixtures range in fashion from elegant chain-mounted chandeliers and sparkling art-deco crystal fixtures to modern geometric wood designs with candle-fashion lighting. The available fixture designs really seem countless.
Regardless of style, a major concern when selecting a replacement characteristic is to ensure that the box, ceiling and wiring volition support the weight of the fixture. For a new fixture that weighs approximately the aforementioned as the erstwhile ane, the existing electrical box volition probably suffice. However, if the replacement is heavier, the ceiling box may need to be replaced to support the extra weight.
Replacing a light fixture doesn't require an electrician. Following a few elementary safety guidelines, a DIY homeowner can supercede a fixture successfully (although the work should probably be inspected by a professional, so check with local regime to run across if a permit is required).
Out with the Old
Before making your first move, plough off the ability at the billow box. Exercise this by flipping a circuit billow or unscrewing a fuse. Use a voltage tester to make sure the ability is off.
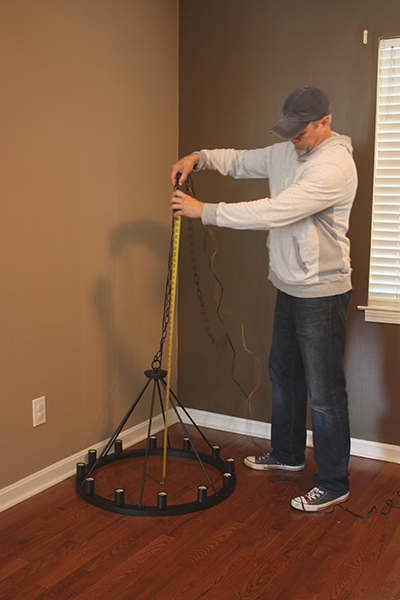
We wanted the new fixture to hang approximately at the same height as the old, and so nosotros measured the old light's position earlier removing it.
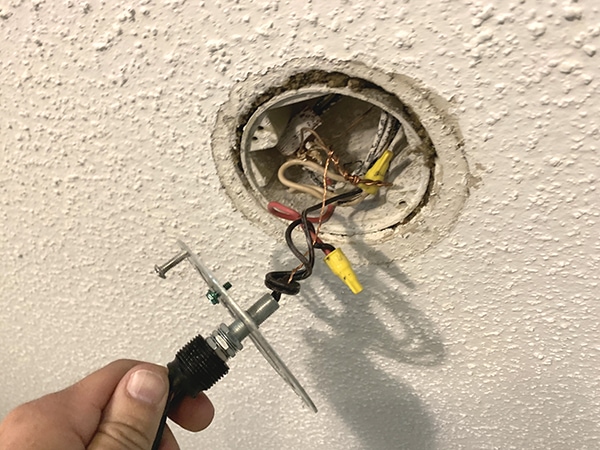
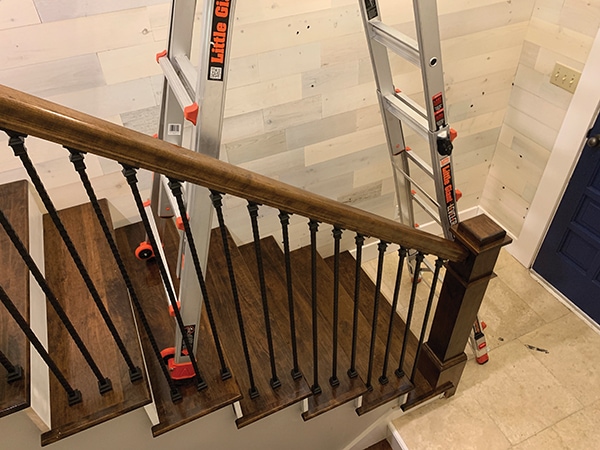
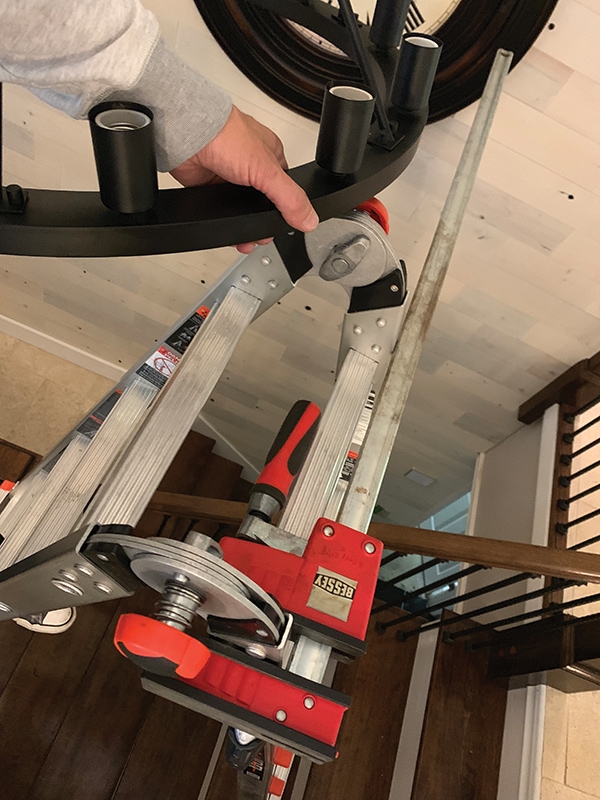
When removing the erstwhile fixture, it helps to utilise a work platform attached to a ladder to support the weight of the fixture while you remove the mounting screws from the electric box. With the screws out, pull off the box cover. The wires should be twisted together and capped with a wire nut. Before you disconnect any wiring, a adept DIY trick is to take a few photos at different angles to bear witness how to reconnect the new fixture to the house wiring. To disconnect the old fixture, but unscrew the wire basics and untwist the wire pairs.
Note: If yous accept aluminum wiring, you should avoid working on it and call an electrician, considering special techniques are required to make the connections.
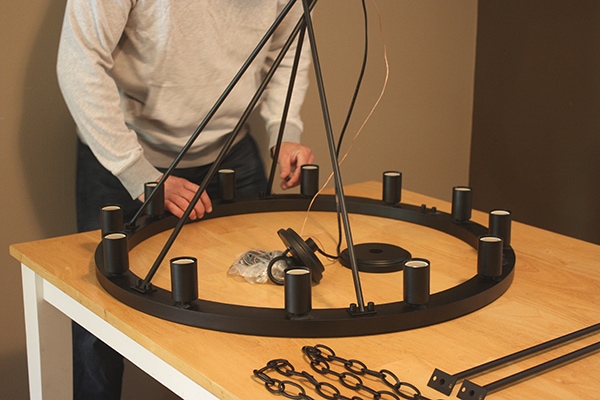
Assemble the New Fixture
Unpack the fixture and verify that information technology was shipped with all the necessary parts. Organize the components, including the canopy, the hanging hardware, etc. Considering ceiling fixtures vary greatly in style and construction, so do the associated components and the assembly process. However, any quality lighting manufacturer will include assembly instructions specific to the fixture model, and usually the chore requires nothing more than a screwdriver or wrench. The electrical string fixture follows the chain, looping through information technology periodically to proceed the wire and chain bundled. Call back to thread the canopy (box cover), the canopy's servant nut, the new mounting strap (which screws into the junction box) and any other necessary parts over the wire and concatenation earlier installing the fixture.
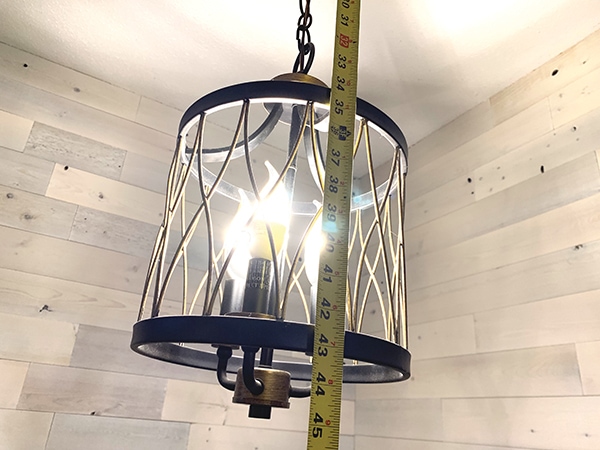
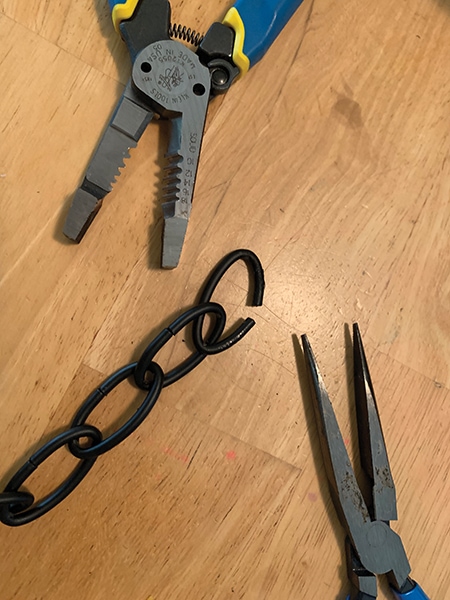
Conduct the fixture to the electrical box and use your ladder/piece of work platform combo to back up the weight of the fixture while you piece of work. Ultimately, the acme of your hanging fixture is up to y'all, but for the over-the-stairs location shown, we wanted to ensure plenty of headroom clearance for anyone walking below it. The lighting supplier will ordinarily include more chain than you will really demand. Measure and cutting the chain to its desired length with metal snips. Then cut the wiring 6 inches longer than the chain.
Installation
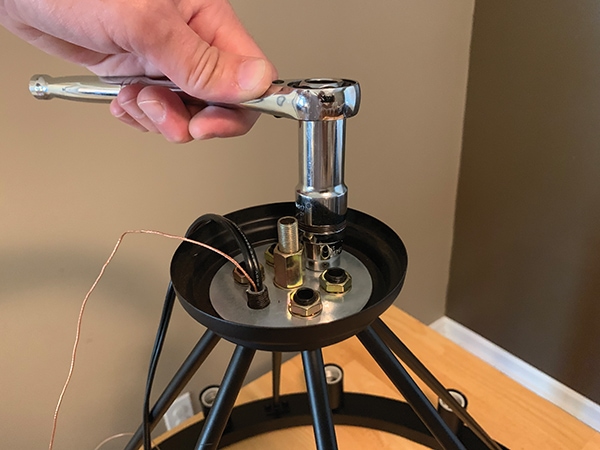
To install the fixture, you'll need a screwdriver and some wire strippers. It might help to screw the metal mounting strap to the junction box to keep the wires close together while you piece of work. The cease of the concatenation will thread into the mounting strap.
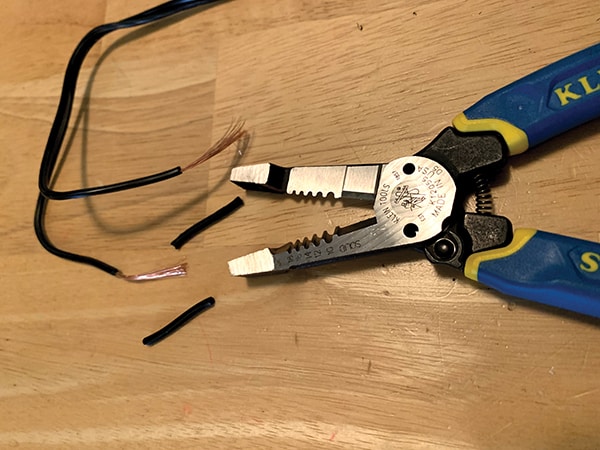
Using a combination stripper, pinch the fixture wire in the appropriately sized hole, squeeze to cut the sheathing, and so twist and pull to remove about 3/4-inch of insulation from each wire.
In modern dwelling house supply wiring, individual wires are bundled together in a sheathed cable. "Two-wire with ground" cables have a black wire, a white wire and an uninsulated ground wire. "Three-wire with ground" cables (used with 3-way and iv-way switches) accept a black wire, a white wire, a red wire and an uninsulated ground.
The white wire is usually the neutral wire, and the black is the alive or "hot" wire. Whatsoever scarlet wires are hot, too. The unsheathed, exposed copper wires are ground wires.
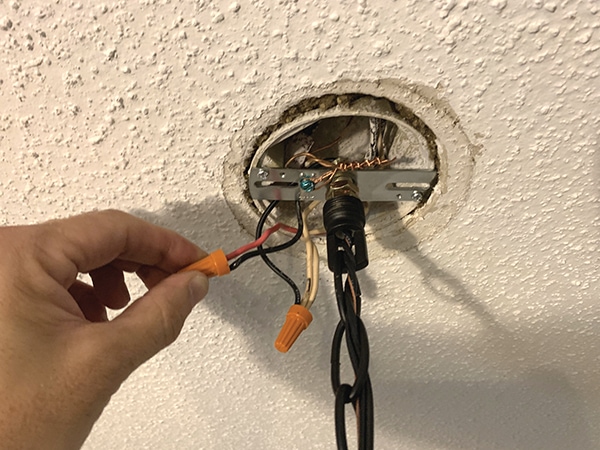
Match the fixture wires to the supply wires (hot to hot, neutral to neutral), twist the exposed wires together clockwise. Lite fixtures don't have blackness and white cables, but it'southward notwithstanding important to connect the neutral wire of the excursion to the neutral wire of the light. To identify the neutral wire, examine the lamp cord closely; the neutral wire usually has a white rib on the capsule as its indicator. The ground wires typically anchor to the mounting strap with a small-scale green-painted spiral.
Because the fixture wires are stranded and the supply wires are solid, it usually helps have 1/4 inch extra exposed strand wire to wrap around the solid wires. Secure the connections with a UL-listed wire nut.
If only a single cable, or one set of black and white wires, enters the box, then the fixture is at the end of the excursion, which allows for the simplest method of installation. If two cables (or two sets of black and white wires) enter the box, the fixture is in the heart of a circuit, which means y'all will have to twist multiple wires together. This is why it'due south handy to have photos of the wiring connections.
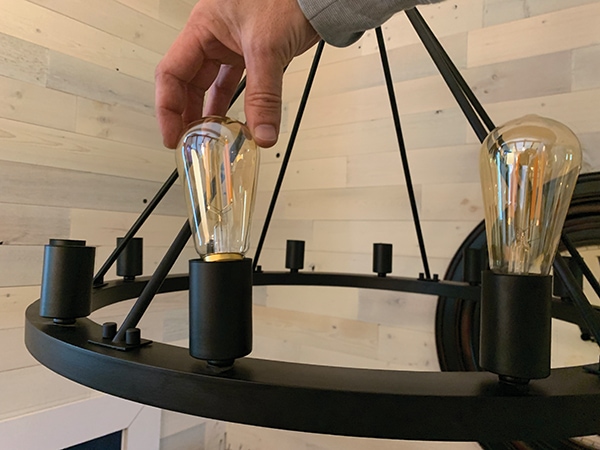
Install a light bulb and test the connectedness before the fastening the fixture. If there's no illumination, y'all probably have a loose connection, and so try again. Once the light functions, add together some extra connection protection by wrapping electrician's tape around the wire basics.
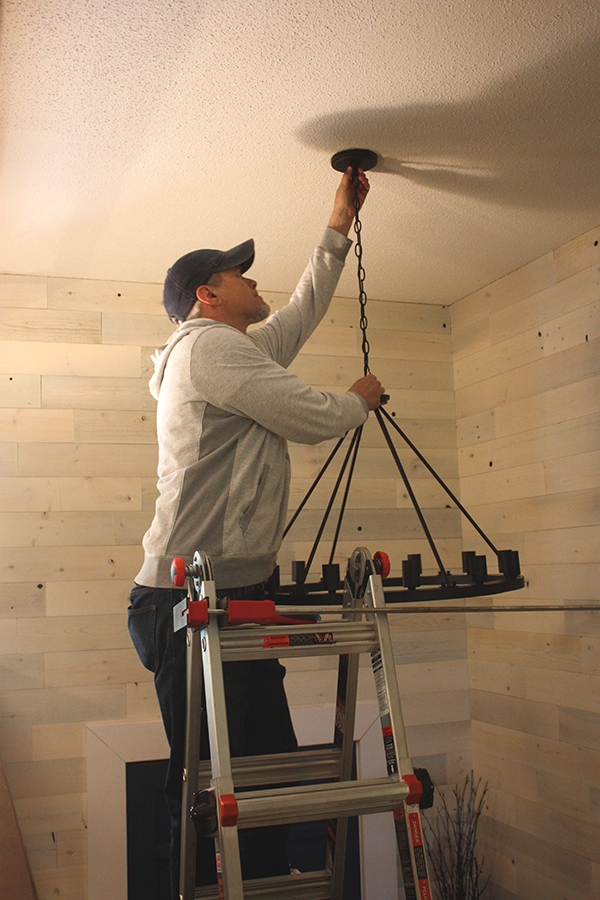
On the fixture shown, the threaded terminate of the chain screws into the mounting strap, the canopy slides over the wiring box, and a lock not holds the canopy in place for a finished appearance.
The stylish new chandelier from Lamps Plus not only enhances the interior décor but also offers a warm glow to the living infinite.
Editor's Note: Founded in 1976, Lamps Plus, the nation's largest lighting retailer, also carries thousands of exclusive designs in ceiling fans, furniture, home furnishings and décor. Learn more about the company's extensive catalog at www.lampsplus.com.

Source: https://extremehowto.com/replace-a-hanging-light-fixture/
Posted by: murdockanterevell.blogspot.com
0 Response to "How To Install A New Hanging Light Fixture"
Post a Comment